
Quick Start: Configuring Your Library
Welcome to Sharp Stock! Before you start managing your game assets, you first need to establish an "Asset Library." This chapter will guide you through the library initialization process. You can choose to Open/Create a Local Library or Checkout a Library from SVN.
1. Choosing an Initialization Method
When you first launch Sharp Stock, you will be presented with two main options:
| Option | Use Case | Key Features |
|---|---|---|
| Open or Create Local Library | You have existing project files locally or plan to create a new library on your machine. | Extremely fast response, can directly index existing directories or initialize in an empty folder. |
| Checkout Library (SVN Checkout) | You joined an existing team where resources are hosted on an SVN server. | Automatically synchronizes the latest resources from the server, supporting multi-user collaboration and version tracking. |
2. Guide: Open or Create Local Library
If you already have resource files locally (such as images, Spine animations, etc.) or are ready to create a new library on your machine, please follow these steps:
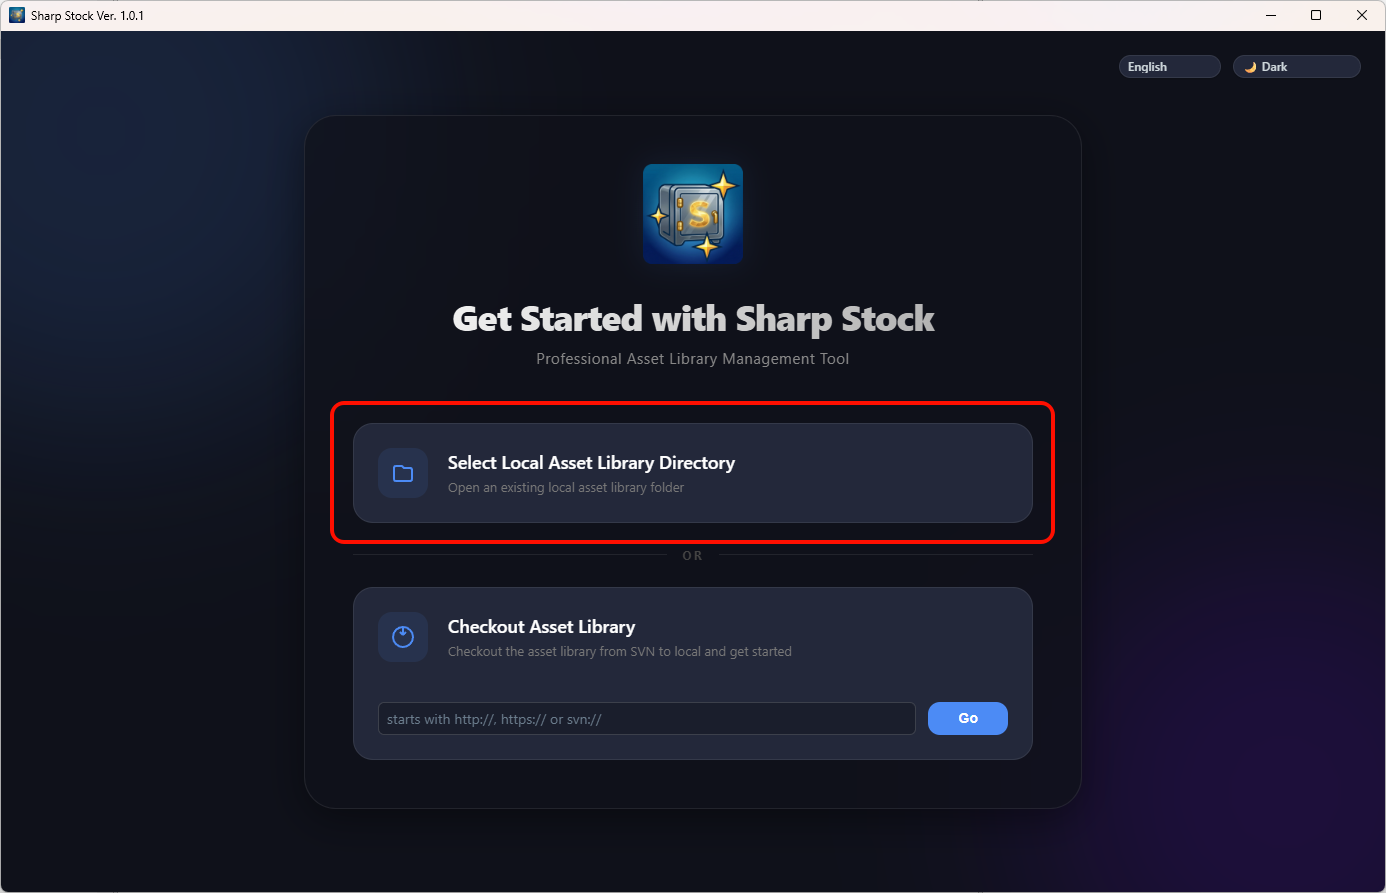
- Start the Process: Click the [Select Local Library Directory] button on the main interface.
- Select a Path: In the popup folder selection box, choose the target directory:
- Open Existing Library: Navigate to the root directory of your project (the top-level directory containing resource files).
- Create New Library: Select an empty directory to serve as the library's root path.
- System Confirmation:
- Empty Directory: The software will ask whether to perform initialization. Clicking "OK" will automatically generate the required database and directory structure.
- Non-empty Directory: The software will create necessary index files (without damaging the original directory structure) and incorporate existing resources into management.
- Automatic Scanning: After confirmation, the system will automatically scan subdirectories and generate thumbnails. Once complete, you can begin using it.
3. Guide: Checkout Library from SVN
If you need to synchronize a resource library from a team server, please follow these steps:
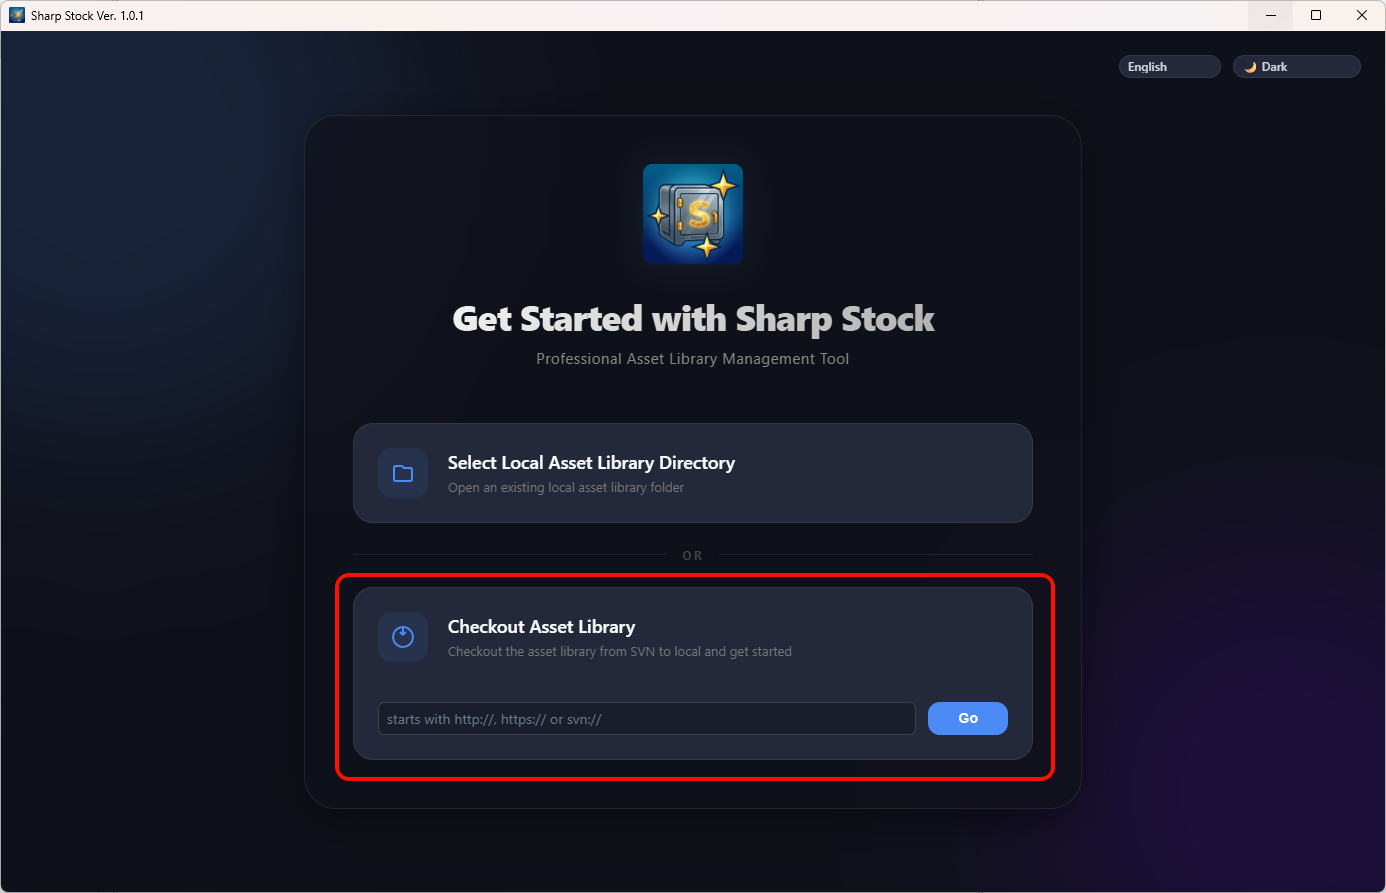
- Input Address: Enter the remote repository's SVN URL in the main interface input box (must start with
http://,https://, orsvn://). - Authentication: If the server requires permissions, enter your Username and Password in the popup dialog.
- Validity Check: The system will automatically verify if the address is a valid Sharp Stock asset library.
- Choose Storage Location: After verification, select an empty folder on your local machine to store the resources.
- Start Checkout: The checkout duration depends on the library size and your network speed. Once complete, the asset library will open automatically.
TIP
If you are more accustomed to using external SVN clients (such as TortoiseSVN, SnailSVN, etc.), you can also perform the Checkout locally first, and then open that directory via the [Select Local Library Directory] method mentioned above. Sharp Stock will automatically recognize the SVN information, and you can still use version control functions like update and commit normally.
4. Key Differences Between the Two Modes
- Collaboration Mode: Local libraries are suitable for personal management or project start-ups; SVN libraries are the foundation for team collaboration, supporting "Update" via the sidebar to get others' changes or "Commit" to upload your own.
- Network Requirements: Local libraries run entirely offline; SVN libraries require a server connection during synchronization (update, commit).
- Version Management: SVN libraries naturally support version tracking, allowing you to view file modification history or revert files to previous versions.
5. Important Notes
To ensure the safety of your asset data, please keep in mind:
- Management File Protection: Sharp Stock relies on database files in the root directory for asset management. Do not manually delete database files with the
.dbextension, as this will lead to the loss of tags, notes, and other metadata. - Read/Write Permissions: Ensure you have full read and write permissions for the selected local path.
- Confirm Initialization Path: When configuring for the first time, ensure the correct path is chosen, as the software will generate necessary management records in that location.
TIP
After configuration, if you need to switch or close the current library, you can do so via ⚙ Settings -> [Library Status]; see Switching Libraries for details.