
3D Models
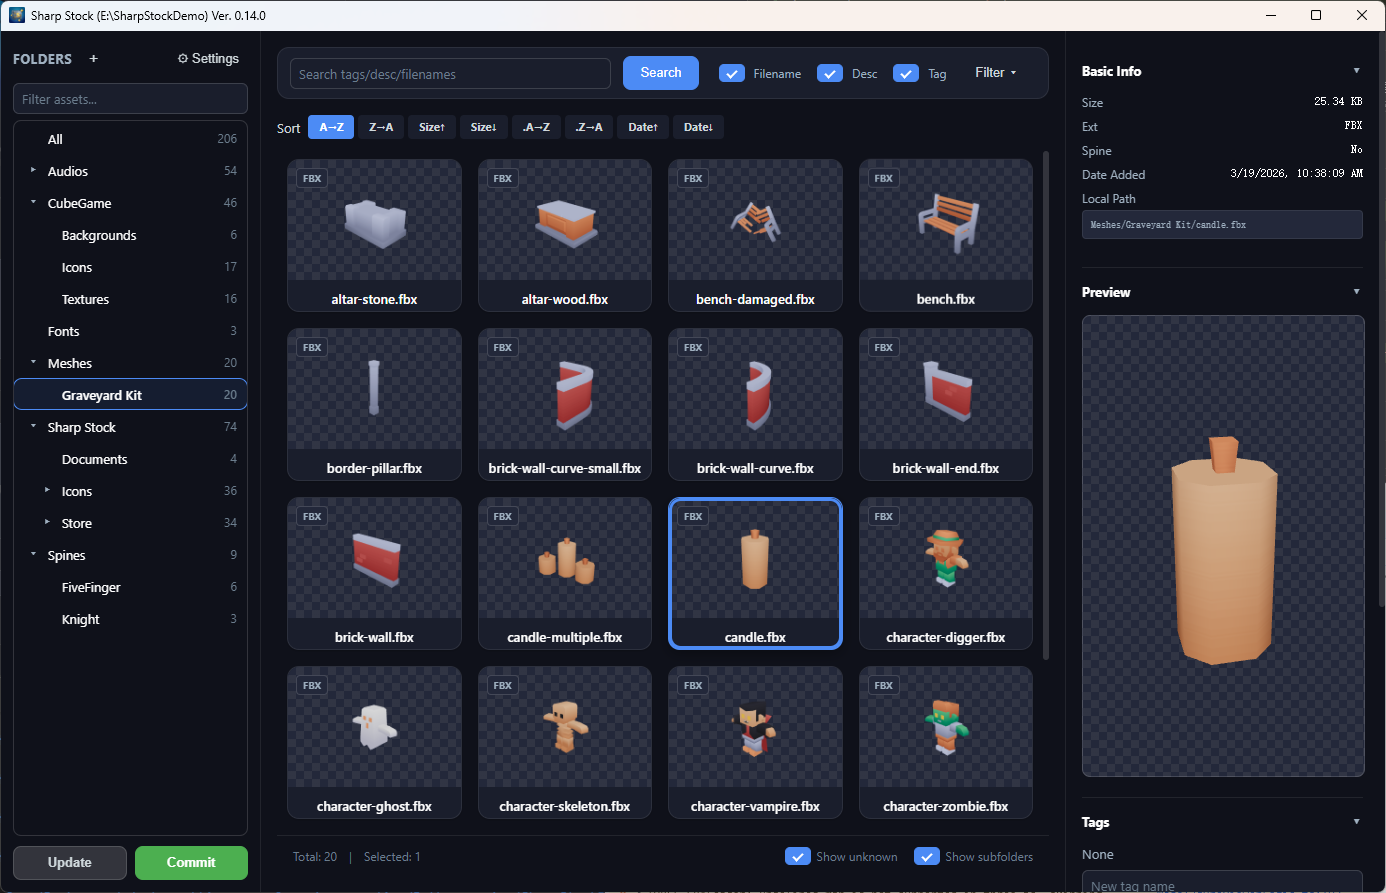
Sharp Stock deeply supports mainstream 3D model formats used in game development. Artists, programmers, and planners can directly review model details within the asset library without opening heavy professional modeling software or engine editors.
1. Supported Format Standards
The system natively supports major 3D exchange formats:
- FBX: The industry-standard 3D exchange format, widely supporting skeletal, animation, and material information.
- GLTF / GLB: Efficient, lightweight modern universal transmission formats, a top choice for Web and cross-platform game development.
2. Interactive Preview Features
360-Degree All-round Observation
After selecting a 3D model asset, the right detail panel will automatically activate an interactive viewport:
- Auto-Rotation Display: The model will rotate at a smooth speed, making it easy to quickly review the appearance from multiple angles.
- High-Fidelity Preview: The viewport supports switching between transparent and grid backgrounds to ensure model silhouettes can be clearly identified.
Smart Material & Texture Recognition
The system automatically analyzes and attempts to load textures associated with the model. If texture files are located in the same directory as the model or in a standard textures subdirectory, the previewer will automatically present a realistic rendered effect with textures.
3. Organization & Management Suggestions
- Resource Storage Standards: We recommend storing model files and their accompanying textures in a unified folder so the system can precisely associate textures.
- Performance Tagging: Use the tagging system to label models with "High-poly/Low-poly," "LOD levels," or "Belonging Character" to achieve rapid resource retrieval.
4. Common Troubleshooting
- Why is there no texture when previewing a model?
- Please verify if texture files are in the same folder as the model or in the
texturesdirectory. Also, check if the relative paths recorded during model export are correct.
- Please verify if texture files are in the same folder as the model or in the
- Is animation preview supported?
- Current versions prioritize providing interactive observation of static meshes and default poses; complex skeletal animation sequence playback will be enhanced in future iterations.